Introduction
Introduction: How to Install Bar Grating the Right Way
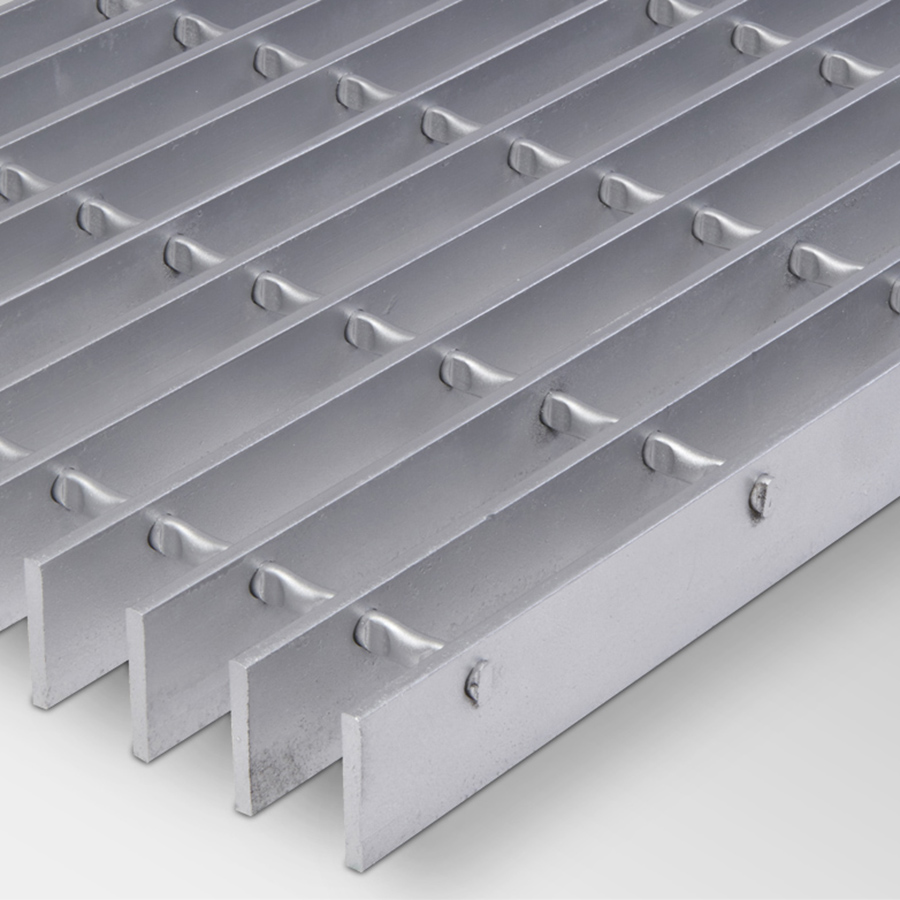
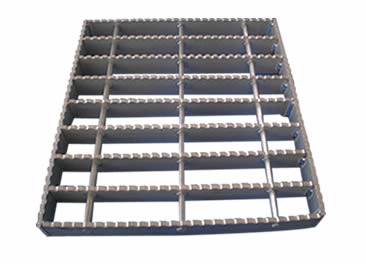
Steel bar grating is a staple of industrial flooring, walkways, platforms, and drainage covers across countless facilities. But even the highest-quality grating panels deliver zero value if they are not installed correctly. Whether you are a plant engineer, a maintenance supervisor, or a general contractor, understanding how to install bar grating properly is essential to ensuring structural safety, OSHA compliance, and long service life.
This complete installation guide covers every phase of the process — from pre-installation site preparation and material handling to cutting methods, fastening techniques, and final inspection criteria. You will learn which tools cut grating most efficiently, when to use welding versus mechanical clamps, and what OSHA requires for walking-working surfaces. By the end, you will have a clear, actionable workflow that reduces installation time, minimizes waste, and keeps your crew safe.
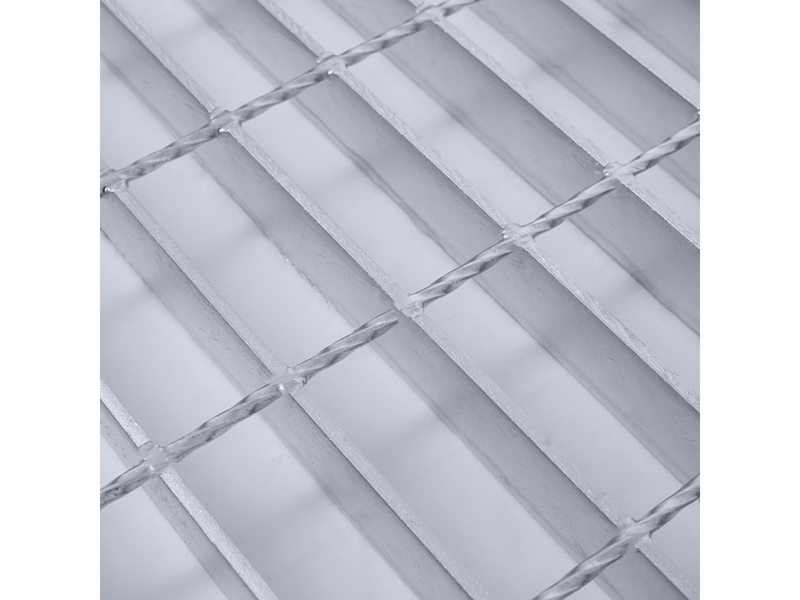
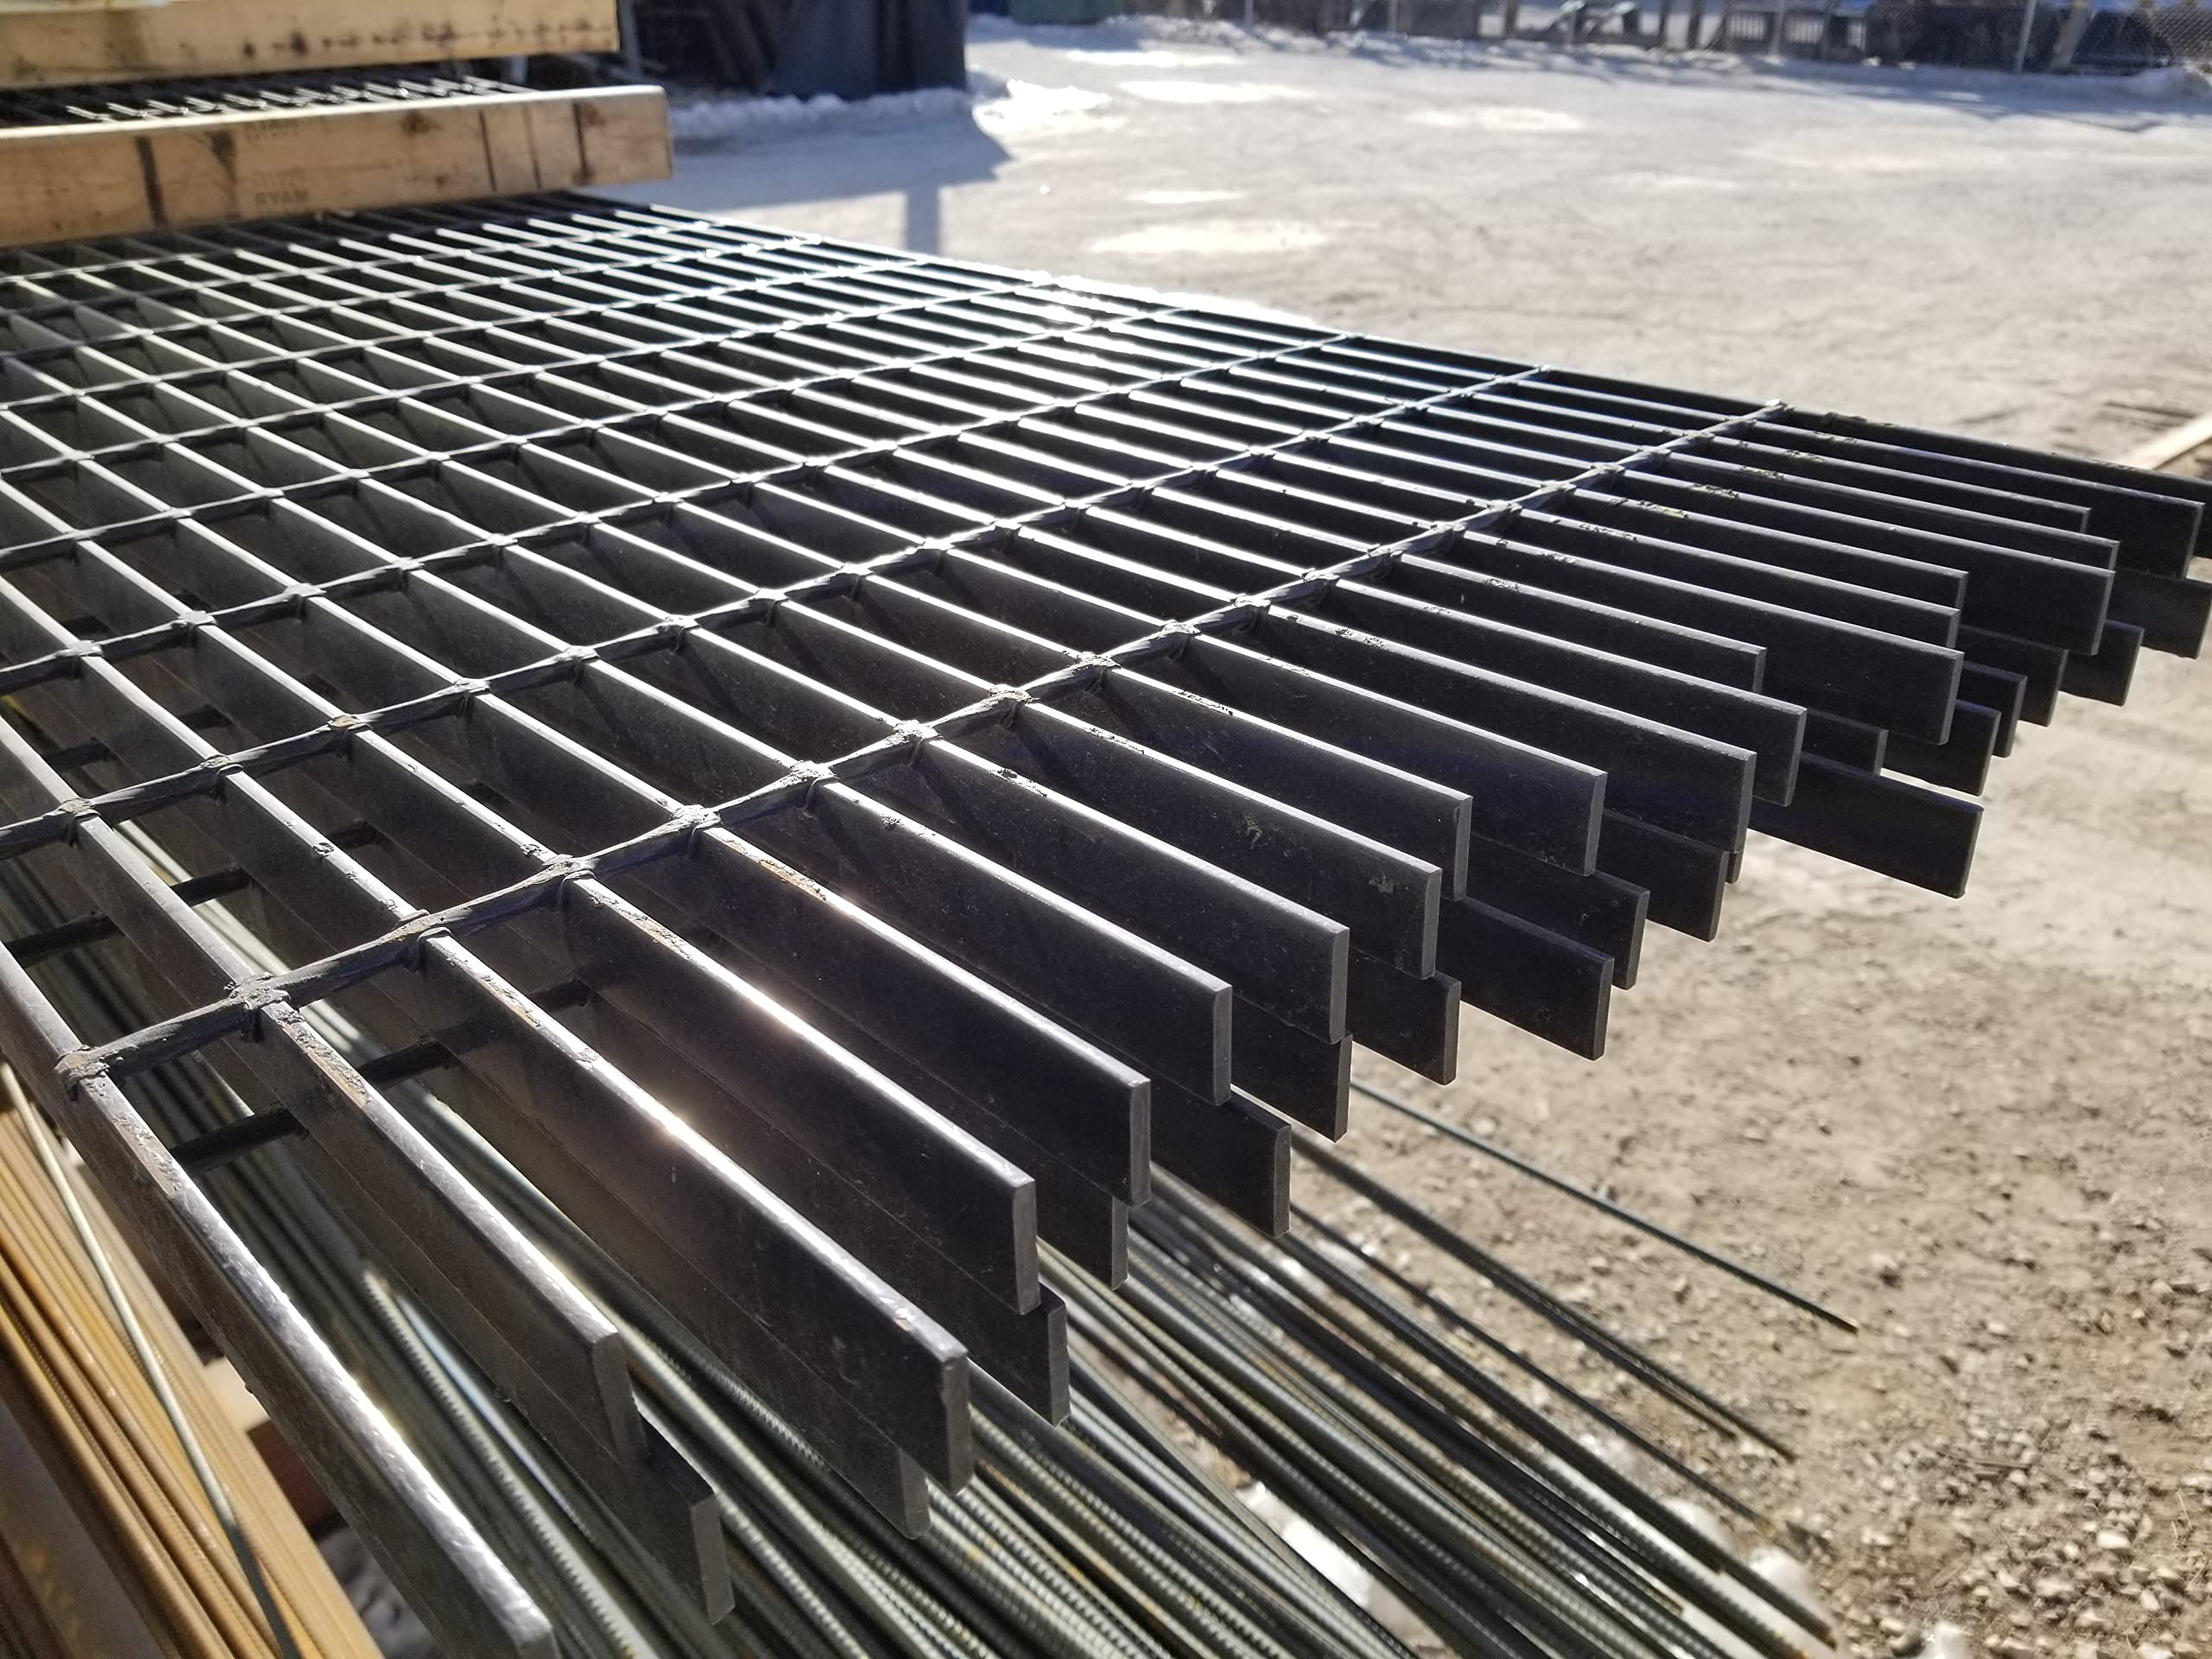
We focus exclusively on steel bar grating — welded, press-locked, and swaged types made from carbon or stainless steel. No FRP or stair tread content is covered here. Let us begin with the groundwork that every successful installation depends on.
Before You Begin: Pre-Installation Preparation
Site Assessment and Measurement
Before any grating panel is lifted into place, conduct a thorough site survey. Measure the supporting steel framework — beam spacing, flange widths, and elevation differences. Verify that the opening dimensions match the grating order. A common mistake is assuming all openings are square; in practice, many are slightly out of square by 1/4 inch or more. Always measure each individual opening rather than assuming uniformity.
Material Receiving and Inspection
When the steel grating shipment arrives, inspect every bundle for damage, correct material grade, and dimensional accuracy. Check the following against your purchase order:
- Bearing bar size — height and thickness (e.g., 1-1/4" x 3/16", 2" x 1/4")
- Bar spacing — center-to-center distance (typically 1-3/16", 1-3/8", or 2-3/8")
- Panel dimensions — length and width within ±1/8" tolerance
- Surface finish — galvanized, mill finish, or painted
- Edge condition — banding bar or cut edges properly finished
Personal Protective Equipment (PPE)
Installing steel grating involves sharp edges, heavy panels, and cutting operations. Every crew member must wear:
- Hard hat and steel-toe boots
- Cut-resistant gloves (leather or Kevlar)
- Safety glasses with side shields
- Hearing protection during cutting operations
- Fall protection harness when working at elevation (per OSHA 1910.28)
Storage and Handling
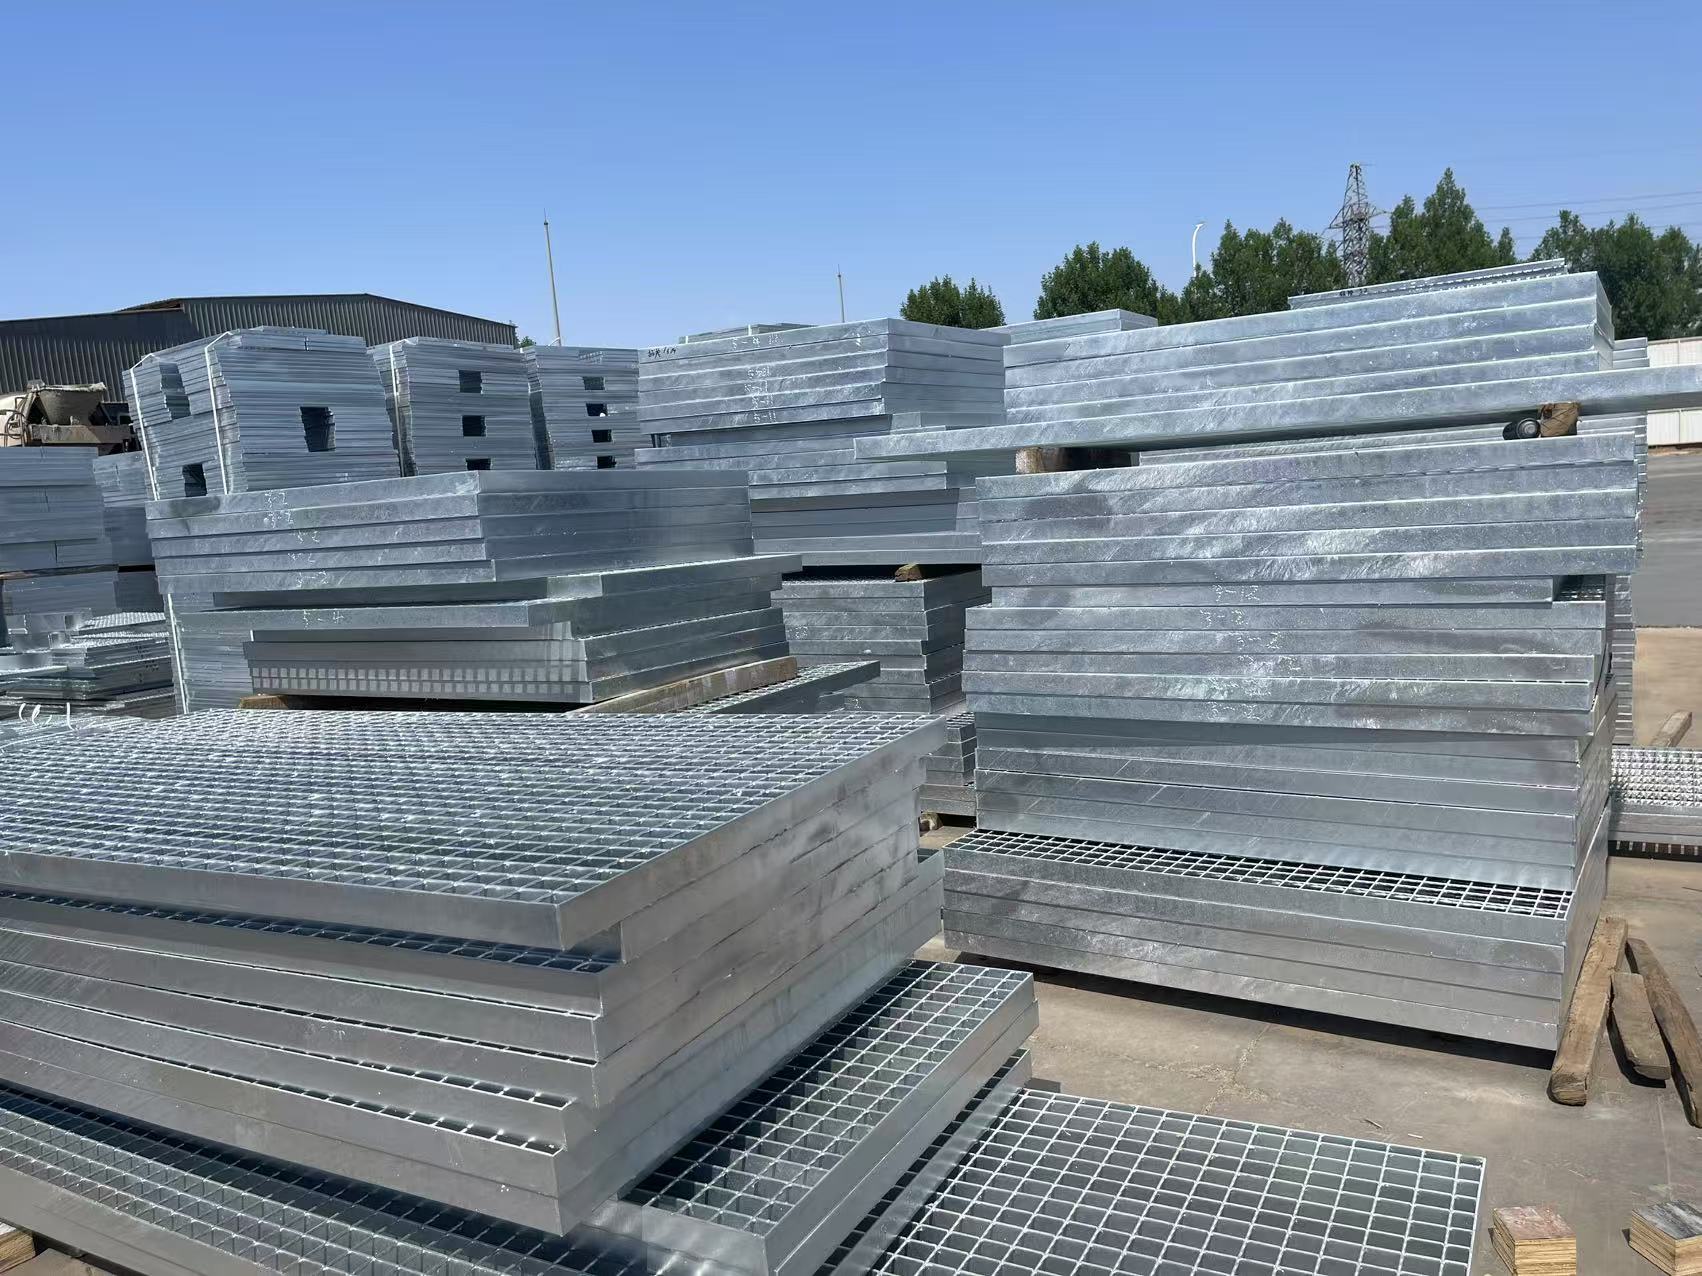
Store grating panels on a flat, dry surface with wooden dunnage between layers to prevent bending or coating damage. If panels are galvanized, avoid dragging them across concrete or steel surfaces, which can scrape the zinc coating and reduce corrosion resistance. Use lifting clamps or spreader bars when moving panels with a crane or forklift.
Essential Tools and Equipment
Having the right tools on hand before you start makes the difference between a smooth installation and a frustrating one. Here is a comprehensive list of tools you will need for a typical steel grating installation:
| Category | Tool | Purpose |
|---|---|---|
| Measuring & Layout | Steel tape measure, combination square, chalk line, marker | Mark cut lines and verify fit before cutting |
| Cutting | Angle grinder with 1/8" cut-off wheel, plasma cutter, abrasive chop saw | Cut bearing bars and cross bars to length |
| Deburring | Angle grinder with flap disc, hand file | Remove sharp edges and burrs after cutting |
| Fastening | Grating clips, saddle clamps, welding machine, impact wrench, torque wrench | Secure grating panels to support structure |
| Lifting & Positioning | Grating lifting clamps, crowbar, rubber mallet, spreader bar | Move and seat heavy panels safely |
| Safety | Fall arrest system, safety harness, lanyard, signage | Protect workers during overhead installation |
For most industrial installations, a 4-1/2" or 7" angle grinder with a metal-cut-off wheel is the most versatile cutting tool. It handles light-to-medium grating (bearing bars up to 1/4" thick) with minimal setup. For heavy-duty grating with thicker bearing bars, a plasma cutter or abrasive chop saw delivers cleaner cuts and faster throughput. We will examine each cutting method in detail in the next section.

Cutting Steel Grating to Size
Cutting steel grating to the exact dimensions of your support openings is one of the most critical installation steps. A poor cut leads to gaps, instability, and rework. The method you choose depends on the grating thickness, volume of cuts, and available equipment. Below are the most common and effective techniques.
Cutting with an Angle Grinder
The angle grinder is the go-to tool for most field installations because of its portability and low cost. Use a 4-1/2" or 7" grinder fitted with a 1/8" thick metal cut-off wheel rated for steel. Follow these steps for clean, accurate cuts:
- Mark the cut line — Use a combination square and a sharpie or soapstone to draw a straight line across the bearing bars. For multiple cuts, use a chalk line to maintain alignment.
- Clamp the panel — Secure the grating panel to a workbench or sawhorses so it cannot shift during cutting. An unclamped panel vibrates excessively, producing jagged edges.
- Cut each bearing bar individually — Unlike sheet metal, steel grating requires cutting every bearing bar one at a time. Angle the grinder wheel perpendicular to the bar and cut straight through. Let the wheel do the work — do not force it.
- Cut cross bars if necessary — When removing a section, you may need to cut through cross bars as well. Be careful not to undercut adjacent bearing bars.
- Deburr the cut edges — Use a flap disc or hand file to remove sharp burrs and smooth the cut surface. This step is essential for safety and to prevent injury during installation.
Best for: Light-to-medium duty grating with bearing bar thickness up to 3/16". Ideal for small jobs, field adjustments, and on-site modifications.
Plasma Cutting for Steel Grating
For larger installations or heavy-duty grating with bearing bars 1/4" and thicker, a handheld plasma cutter offers significant speed advantages. Plasma cuts are cleaner, produce less heat-affected zone, and require minimal post-cut cleanup.
- Setup: Connect the plasma cutter to a clean compressed air supply (80-100 PSI). Set the amperage based on material thickness — typically 40-60 amps for 1/4" bearing bars.
- Technique: Hold the cutting torch perpendicular to the bar surface, maintain a consistent standoff distance, and move at a steady speed. Listen for the change in sound as the arc penetrates fully through the bar.
- Advantages: Cuts 3-5 times faster than an angle grinder. No mechanical vibration, which reduces operator fatigue. Can cut multiple bars in a single pass if the torch is moved smoothly.
- Considerations: Requires a power source (often 3-phase), compressed air, and proper ventilation. Hot slag can drip below the cut — protect surrounding surfaces and personnel.
Best for: Heavy-duty grating, production environments, and large panel modifications where speed matters.
Abrasive Chop Saw and Band Saw Alternatives
An abrasive chop saw (14" dry cut saw) is a good stationary option when you have a dedicated cutting station. It provides straight, repeatable cuts and works well for cutting multiple panels to the same length. A horizontal band saw produces the cleanest edge with minimal burr, but it is slower and less portable. Choose based on your production volume and quality requirements.
Steel Grating Fastening Methods
Once your steel grating panels are cut to size, the next question is how to fasten them permanently to the support structure. The three primary methods are mechanical clamps, welding, and bolt-down fastening. Each has distinct advantages depending on the application, load requirements, and whether future removal is needed.
Heavy-Duty Grating Clips and Clamps
Mechanical clamps are the most popular fastening method for industrial grating because they are fast to install, require no hot work permit, and allow easy panel removal for cleaning or equipment access.
- G-Clamps (Grating Clips): These are saddle-style clamps that sit over the top of the bearing bar and grip the support flange underneath. A single bolt tightens the clamp, securing the grating without drilling or welding. Typical spacing: every 4 feet along the support.
- Saddle Clamps: A two-piece clamp consisting of a top saddle and a bottom plate. The saddle sits across the bearing bar while the plate wraps under the support flange. These provide higher clamping force than standard G-clamps.
- Malleable Iron Clips: Often used with galvanized grating, these clips resist corrosion and provide a secure fit. They are tightened to a specified torque (typically 15-25 ft-lbs) to avoid over-stressing the clip or the bearing bar.
- Advantages: No heat, no sparks, no specialized labor. Panels can be removed and reinstalled quickly. Ideal for environments where welding is restricted (chemical plants, refineries).
Welding Steel Grating
Welding provides the strongest possible connection between the grating and the support steel. It is the preferred method for heavy-duty applications, vibration-prone environments, and seismic zones.
- Weld type: Use 1/8" to 3/16" fillet welds, 2-3 inches long, at every bearing bar that crosses a support beam. Weld on both sides of the bearing bar where possible.
- Preparation: Grind any galvanized coating off the weld area before welding, as zinc fumes are toxic and the coating produces weak, porous welds. This applies to both the bearing bar and the support steel.
- Electrode selection: E7018 or E6013 electrodes for carbon steel grating. For stainless steel grating, use E308L or E316L electrodes to match the base material.
- Post-weld treatment: Grind welds smooth if a flush surface is required. Apply cold-galvanizing spray or zinc-rich paint to restore corrosion protection on welded areas where galvanizing was removed.
- Advantages: Maximum holding strength, no loosening over time, no protruding hardware to trip over.
Screw-Down and Bolt-Down Fastening
For applications requiring a clean, flush surface or where the grating sits on concrete supports, screw-down fastening is an effective alternative.
- Self-tapping screws: Use hardened steel self-tapping screws with hex washer heads to fasten grating directly to steel supports. Pre-drilling is not required for most applications if the support thickness is under 1/4".
- Through-bolting: For maximum holding strength, drill through both the bearing bar and the support flange and install a grade-5 or grade-8 bolt with lock washer and nut. This method is common for grating on concrete-embedded steel angles.
- Anchor bolts: When installing grating over concrete or masonry, use wedge anchors or sleeve anchors at each support point. Drill into the concrete, insert the anchor, and torque to the manufacturer recommendation.
The table below compares the three fastening methods at a glance:
| Method | Strength | Removability | Install Speed | Best For |
|---|---|---|---|---|
| Grating Clips | Moderate | Excellent | Fast | Chemical plants, platforms needing access |
| Welding | Highest | Difficult | Moderate | Heavy loads, high vibration, permanent installations |
| Screw/Bolt-Down | High | Good | Moderate | Concrete supports, flush surface requirements |
Step-by-Step Installation Process
Now that you understand the tools, cutting methods, and fastening options, let us walk through the complete installation sequence from start to finish. Follow these steps in order for a safe, code-compliant installation.
Step 1: Dry-Fit Panels Before Cutting
Lay each uncut grating panel loosely across its intended opening. Verify that the panel width and length provide at least 1 inch of bearing on each support (2 inches preferred per NAAMM standards). Mark any obstructions — pipes, columns, equipment supports — that require notching or trimming.
Step 2: Cut and Trim Panels
Using the cutting method best suited for your grating type (angle grinder for light-duty, plasma for heavy-duty), cut each panel to the exact dimensions marked in Step 1. For rectangular openings, cut the panel square. For irregular openings around columns or pipes, measure and mark each bearing bar individually for notching. Always deburr cut edges immediately with a flap disc.
Step 3: Apply Edge Banding (If Required)
For exposed cut edges where the perimeter banding bar was removed, install edge banding or flat bar along the cut side. This restores the structural edge, prevents tripping, and gives a professional finish. Weld or screw the banding bar to the bearing bar ends.
Step 4: Position Panels on Supports
Lift each finished panel into place using grating lifting clamps. Lower it gently onto the support beams — never drop panels, as this can bend bearing bars or damage the coating. Ensure each panel has full bearing contact across all supports. Adjust panel alignment using a crowbar or pinch bar, tapping with a rubber mallet for fine positioning. Maintain a consistent gap of 1/8" to 3/16" between adjacent panels.
Step 5: Fasten the Panels
Starting at one corner, install the first row of fasteners. Apply the clamps, welds, or bolts at every bearing bar crossing a support. The industry standard spacing is every 4 feet along the support for clips, or every bearing bar for welding. Torque clamps to the manufacturer specification (typically 15-25 ft-lbs). For welding, use 2" long fillet welds. Move systematically across the installation to avoid missed fasteners.
Step 6: Install Trim and Covers
If the installation includes toe plates, kick plates, or edge trims, install them after all panels are fastened. Secure toe plates to the grating with clips or welds spaced no more than 12 inches apart. For perimeter edges, install angle-rim or channel-rim bands to create a finished edge.
Step 7: Final Inspection
Walk the entire installed surface. Check every fastener for tightness. Verify there are no gaps larger than 1/4" between panels or between panels and supports. Confirm all cut edges are deburred. Test a few panels for movement — if any panel shifts under foot traffic, add additional fasteners.
OSHA Safety Standards for Grating Installation
Steel grating installation often occurs at height, over open floor openings, or in active industrial environments. Compliance with OSHA regulations is not optional — it is a legal requirement that protects your crew and your organization from fines and liability.
OSHA 1910.28 — Duty to Have Fall Protection
Under OSHA standard 1910.28, any worker exposed to a fall of 4 feet or more in general industry must be protected. During grating installation — particularly when panels are removed or being placed — open floor holes pose a serious fall hazard. The following controls are required:
- Guardrail systems: Before any grating is removed, install guardrails around the perimeter of the opening. Top rail at 42 inches, mid rail at 21 inches, and toe boards at 4 inches.
- Safety nets: Where guardrails are impractical, install safety nets no more than 30 feet below the work surface.
- Personal fall arrest systems (PFAS): Each worker must wear a full-body harness connected to a lanyard or self-retracting lifeline anchored to a structural member capable of supporting 5,000 pounds.
- Covering open holes: When a grating panel is removed, immediately cover the opening with a temporary cover rated for twice the anticipated load, or install a guardrail system around the hole.
OSHA 1910.23 — Ladders and Stairways
If the grating installation involves access ladders or stair treads, ensure they comply with OSHA 1910.23. Ladder rungs must be at least 16 inches wide, and stair treads must have a uniform rise and run.
OSHA 1910.22 — Walking-Working Surfaces
Installed grating must meet the general requirements for walking-working surfaces:
- Load rating: The grating must be capable of supporting the design load without failure. For industrial platforms, the minimum uniform load is 50 psf, or a 2,000-pound concentrated load, whichever produces the greater stress.
- Slip resistance: OSHA does not mandate a specific coefficient of friction, but serrated grating is recommended in wet or oily environments to reduce slip risk.
- Openings: Grating openings must be small enough to prevent a 1-inch diameter sphere from passing through (per OSHA 1910.22(b)(2)). For platforms above areas where people work below, use smaller openings or install a debris screen.
OSHA 1926 Subpart R — Steel Erection (Construction)
For grating installation in new construction, OSHA 1926.754 governs structural steel assembly. Grating must be fully installed before loads are placed on it, and any temporary flooring must be marked as such.
Safe Work Practices Checklist
- Obtain a hot work permit before welding or plasma cutting
- Keep a fire extinguisher rated for Class ABC within 25 feet of any cutting operation
- Ventilate the work area when plasma cutting or welding galvanized grating
- Never leave an open floor hole unattended without a cover or guardrail
- Use tag lines when lifting long grating panels with a crane
- Inspect all lifting hardware (slings, shackles, clamps) before each use
Inspection and Acceptance Criteria
Before signing off on a steel grating installation, perform a systematic inspection using the following acceptance criteria. A thorough inspection prevents future failures, ensures code compliance, and protects your warranty.
Dimensional Tolerances
| Check Point | Acceptable Tolerance | Inspection Method |
|---|---|---|
| Panel length | ±1/8" | Steel tape measure, full length |
| Panel width | ±1/8" | Steel tape measure, full width |
| Bearing bar spacing | ±1/16" | Calibrated spacer or calipers |
| Gap between panels | 1/8" to 1/4" | Feeler gauge or visual |
| Gap to support structure | Maximum 1/4" | Feeler gauge |
| Bearing length on support | Minimum 1" (2" preferred) | Visual and tape measure |
Fastener Inspection
- Clamps: Verify every clamp is present and tightened to the specified torque. No missing bolts, cracked saddles, or stripped threads. Apply a torque check to 10% of installed clamps — if any are below spec, retorque 100%.
- Welds: Inspect weld length (minimum 2"), weld profile (smooth, no undercut), and weld continuity (no gaps or craters). On galvanized grating, verify that all weld areas have been re-coated with cold galvanizing spray.
- Screws and bolts: Check for full thread engagement, proper torque, and the presence of lock washers or thread-locking compound where specified.
Surface Quality
- All cut edges deburred and smooth to the touch
- No bent, broken, or missing bearing bars
- Coating intact: if galvanized, no bare spots larger than 1/2" diameter without touch-up
- No sharp protrusions, weld spatter, or debris on walking surface
Structural Integrity
- Walk the entire installed surface — no noticeable deflection or bounce under foot traffic
- No panel movement when lateral force is applied at the connection points
- Notches and cutouts around columns/pipes must maintain at least two full bearing bars in each direction
- Toe plates and edge trims securely fastened with no sharp edges exposed
Documentation
- Record all inspection results on a Grating Installation Checklist form
- Photograph critical connections, notches, and fastener details for the project record
- Include material certifications (mill test reports) for the installed grating
- Attach the fastener manufacturer torque specification sheet
Once all criteria are met, the installation is ready for service. Schedule a follow-up inspection 30 days after installation to retorque clamps and verify that no fasteners have loosened under load cycling.
Conclusion
Conclusion: Mastering How to Install Bar Grating
Properly installed steel grating is the foundation of safe, durable industrial walkways and platforms. This guide has walked you through every step of the process — from initial site preparation and tool selection to cutting, fastening, and final inspection.
To summarize the key takeaways:
- Preparation is everything. Measure twice, inspect materials on arrival, and equip your crew with proper PPE before a single panel is moved.
- Choose the right cutting method. Use an angle grinder for light-to-medium duty field cuts and a plasma cutter for heavy-duty or production work. Always deburr after cutting.
- Match the fastening method to the job. Grating clips for removability, welding for maximum strength, and screw-down fastening for concrete supports.
- Safety is non-negotiable. OSHA 1910.28 and 1910.22 mandate fall protection, load ratings, and surface opening limits. Follow them to the letter.
- Inspect and document. Use the dimensional and fastener acceptance criteria in this guide to create a permanent record of a job well done.
Knowing how to install bar grating correctly the first time saves labor costs, prevents rework, and eliminates safety hazards that can lead to serious injury. Whether you choose mechanical clamps for a chemical platform or full-penetration welds for a heavy-traffic walkway, the principles remain the same: measure carefully, cut cleanly, fasten securely, and inspect thoroughly.
For more information on selecting the right grating type for your application, explore our bar grating selection guide or contact our engineering team for project-specific installation recommendations.